When Maria noticed her front bed’s petunias sagging by late afternoon, she blamed the hot afternoon sun—but the real problem was irregular watering. Her neighbor’s bed, watered deeply two mornings a week, looked fuller and rebloomed faster. Maria needed a practical plan to give roots steady moisture without wasting water or time.
Identify the watering problem: overwatering, underwatering, or uneven coverage
Before buying parts, take a quick walk around your bed. Look for these common issues: wilted foliage by afternoon (sign of surface drying or heat stress), yellowing leaves with soft stems (possible overwatering), or bright green growth only next to the hose bib (uneven coverage). If your bed is on a slope, you may see dry soil at the top and puddles at the bottom after watering—classic runoff.
Match the right solution to the problem
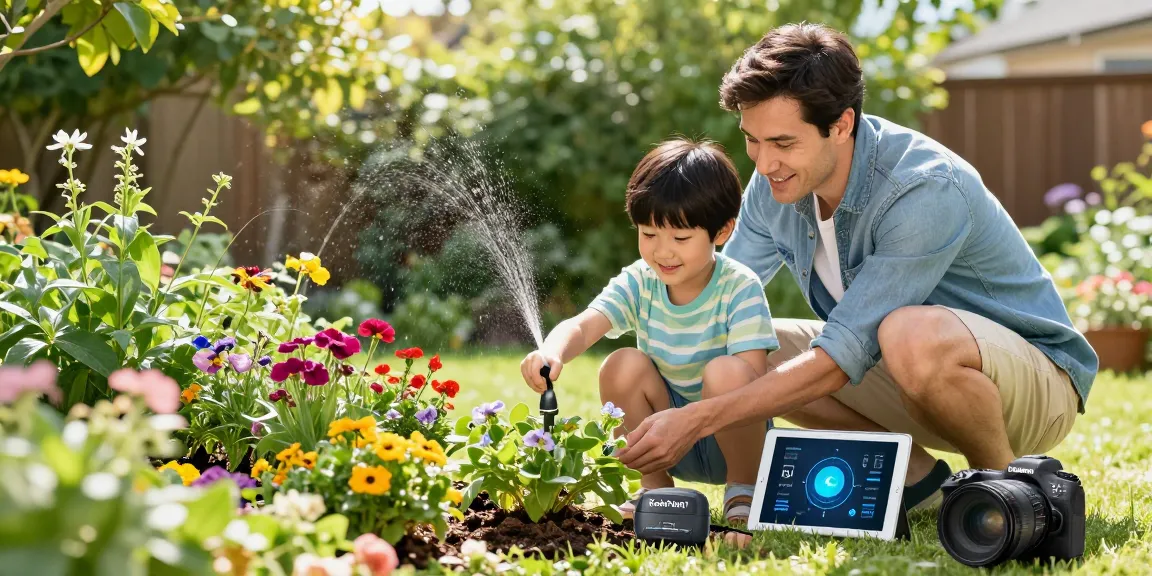
Problem: Uneven coverage. Solution: Lay a drip line or soaker hose in a grid so every plant’s root zone gets water. For a 6-foot wide bed, run two parallel drip lines spaced 2–3 feet apart so the lateral roots receive moisture evenly. A WiFi timer such as the RainPoint model lets you run short, frequent cycles early in the morning to avoid runoff.
Problem: Shallow daily sprinkling from a handheld hose. Solution: Switch to slow, deep watering with a soaker hose or a low-flow drip system to encourage deeper roots. For many perennials, aim for 1 inch of water per week, applied in one or two slow sessions so water soaks in rather than running off.
Example: On a 10-foot bed with mixed annuals, two 25-foot soaker hoses looped in serpentine patterns will cover plant bases. Set a timer for two 30-minute sessions per week in summer; reduce to one session in cooler months.
Choosing the right components for flower bed irrigation
There are three practical setups for typical home flower beds: drip tubing with emitters, soaker hoses, and micro-sprayers. Pick by bed size, plant spacing, and water pressure.
- Drip tubing with individual emitters — best for mixed beds where you can place emitters at each plant base. Ideal for perennials and shrubs.
- Soaker hose — easy and low-cost; great for dense beds or rows of annuals. It wets the soil surface evenly where it lies.
- Micro-sprayers — useful for wider beds where you want a light overhead soak that mimics gentle rain.
Concrete example: A 15-foot long mixed border with shrubs and perennials benefits from 1/4" drip tubing with 0.5 to 2.0 GPH (gallons per hour) emitters placed at each plant. Shrubs get 2.0 GPH emitters, smaller perennials 0.5–1.0 GPH. If your water pressure is high, add a pressure regulator to keep emitters delivering the rated flow.
For homeowners who want automation, a basic controller that fits 1–2 zones is enough for most flower beds. A more advanced WiFi timer can schedule multiple short cycles to combat runoff on compacted soils. Consider a timer from RainPoint if you want remote adjustments when plants need extra watering after a heat spell.
Layout and installation: a step-by-step beginner plan
Start with a simple layout plan on paper. Measure bed length and width, note plant locations, and sketch where main lines and laterals will run. Use these steps to install a drip/soaker system:
- Turn off the water and connect a backflow preventer to the faucet if local code requires it.
- Attach a pressure regulator and a filter to protect tiny emitters from clogging.
- Run a main supply line (1/2" or 3/4" poly tubing) along the bed edge and punch holes where laterals will connect.
- Insert barbed fittings and run 1/4" drip line or place soaker hose across the bed. Stagger lines so plant root zones overlap coverage.
- Cap ends, secure hoses with landscape staples, and test the system. Look for steady drips, not surging bursts.
Example timing: If your emitters deliver 1 GPH and a plant needs roughly 1 gallon per watering to wet the root zone, run the system 1 hour twice a week. Adjust for rainfall and soil type. Sandy soil may need shorter, more frequent runs; clay soils soak slowly, so use multiple short cycles to avoid runoff.
Soil TypeTypical Run StrategySandShorter cycles, 2–3 times/weekLoamModerate cycles, 1–2 times/weekClayMultiple short cycles per session to prevent runoff
Tweaks, scheduling, and real-world maintenance tips
Once installed, monitor soil moisture with a simple screwdriver or soil probe. Insert the tool 2–3 inches deep near roots—if it pushes in easily and the soil feels cool, you’re good. If it’s hard and dry, increase watering time or frequency.
Seasonal adjustments and water savings
Flowers’ water needs change with season and growth stage. During peak summer heat, many beds need two waterings per week; when cooler or rainy, cut back. The EPA reports that smart irrigation controllers can save substantial water by matching schedules to weather—some case studies show savings of up to 30% compared with fixed schedules (source: EPA WaterSense program). Use that guidance: program fewer runs after rain and temporary boosts during heat spells.
Concrete tip: Set timers to water early morning (4–8 AM) to reduce evaporation. If your bed is shallow-rooted annuals, try two 20-minute sessions instead of one 40-minute session to improve absorption.
For a complete how-to that walks through emitter spacing, layout diagrams, and typical run times for common flower varieties click here: set up flower bed irrigation for healthier blooms. That page gives step-by-step photos and plant-specific emitter charts you can copy for your own beds.
Troubleshooting common issues with practical fixes
If some plants still look thirsty while nearby ones are soggy, check for clogged emitters, kinked tubing, or root competition from shrubs. Flush lines by removing end caps and briefly running water to clear debris; replace clogged 0.5 GPH emitters with a higher-flow model if root zones are large.
Example: A 12-foot bed that sits under a mature maple often gets less water because the tree roots steal moisture. Use higher-flow emitters near the perennials (1.5–2.0 GPH) and increase run time by 25% on those emitters. If runoff occurs on compacted clay, split the session into two cycles separated by 30–60 minutes to allow water to soak in.
Regular winter care is simple: drain supply lines if freezing temps are expected, or disconnect the timer and bring it inside. Check the system in spring—replace any brittle hoses and reseat staples that have come loose.
If you want help matching your yard to the most efficient setup, local extension services often publish region-specific schedules; for national guidance on efficient irrigation controllers see the EPA WaterSense resources